One of the most popular landscape photography accessories has to be a filter. Besides polarisation filters, ND filters (grey filters) or graduated ND filters (graduated grey filters) are commonly used. There are also special colour filters that are equally outstanding accessories for landscape photography. In this article we provide a concise user manual per filter type on how to best utilise it in landscape photography.
Polarisation filter | ND filter | Graduated ND filter | Colour filter

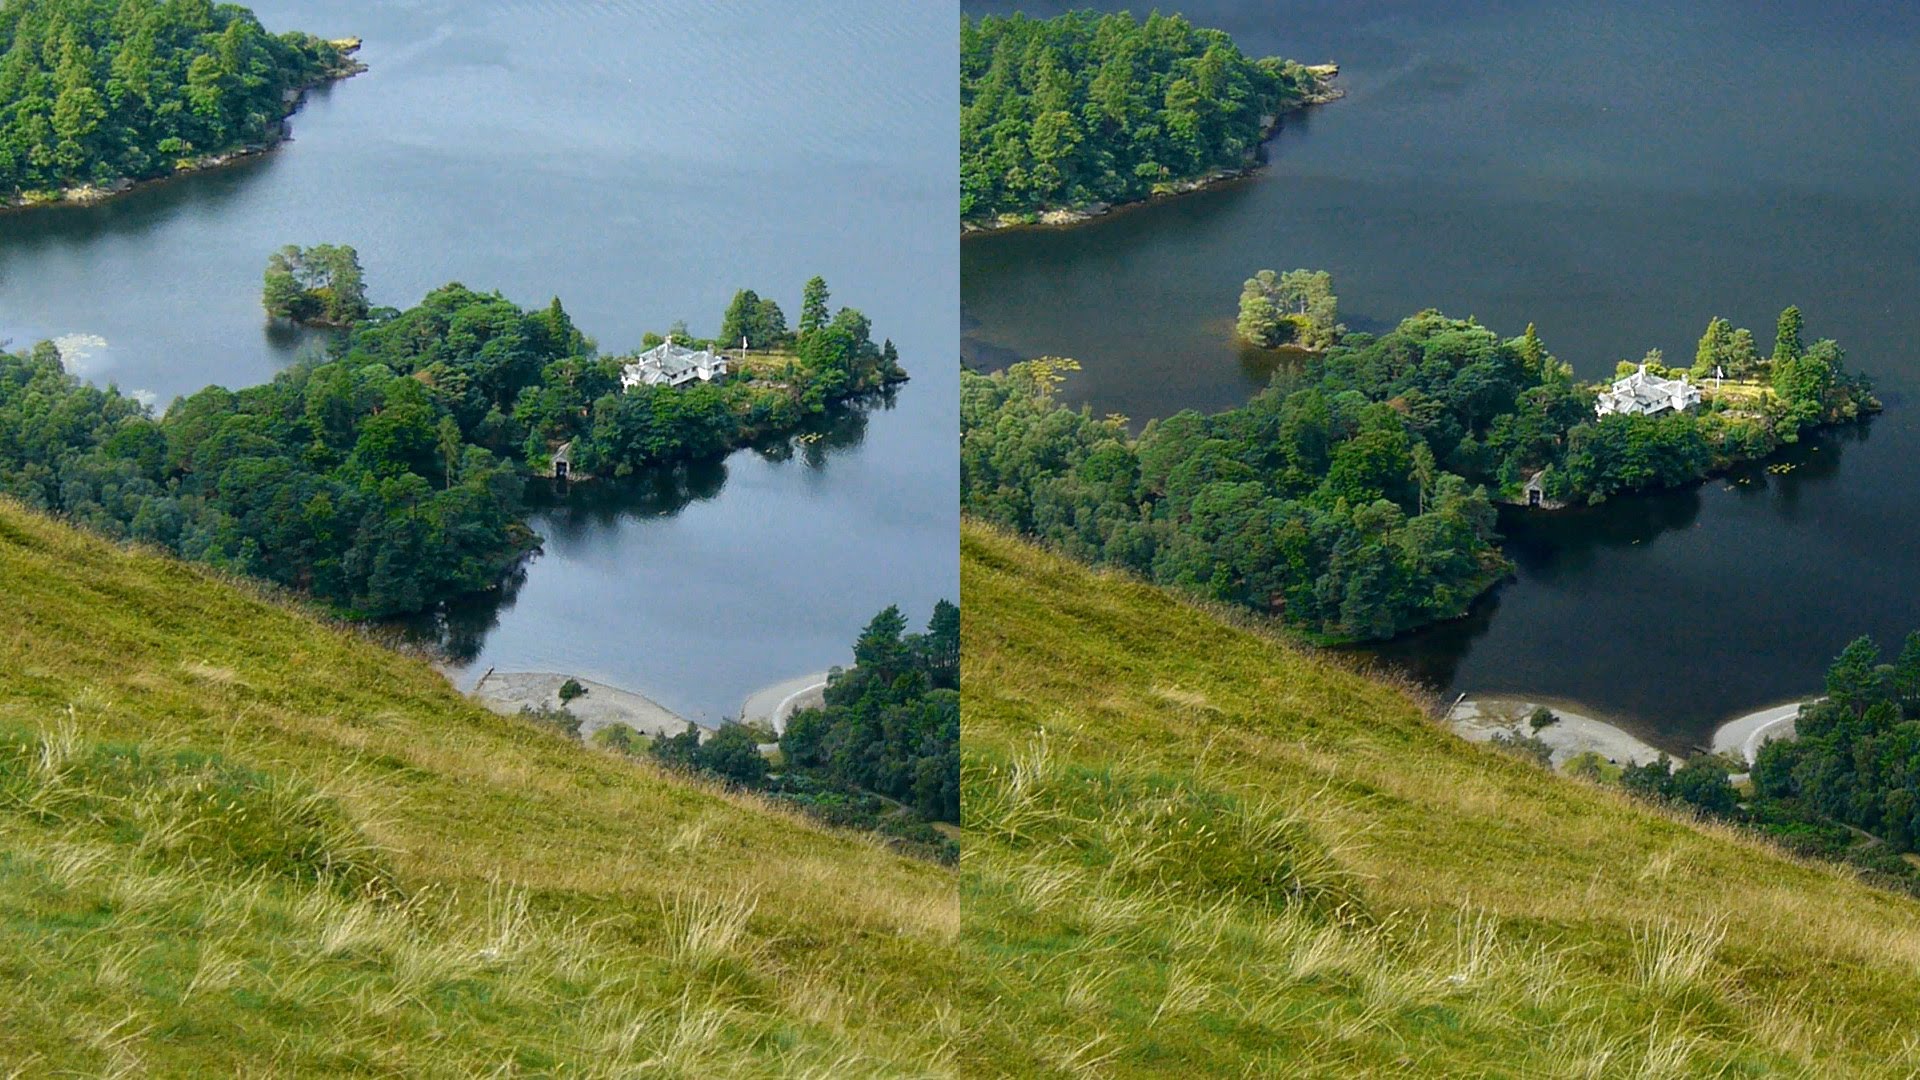
The circular polarisation filter, also known as the CPL filter, is a must-have item in any photographer's camera bag. Perhaps you've heard of a polarisation filter, but what does it do exactly? The polarisation filter is very popular amongst landscape photographers. And rightly so, as it dramatically enhances colour. The sky becomes bluer, the grass greener and your favourite flower just that more vibrant. So, a polarisation filter enhances contrasting.
But there's more to it than that. A polarisation filter also counteracts reflection off water. The same applies to smooth-surfaced objects, such as glass and stones. This allows you to see to the bottom of the water reflection-free, or to capture stones' colours more vividly. With landscape photography, a polarisation filter can yield stunning results by combining reflections in your photo. An example: you're in the Swiss Alps. You come across a lake in a valley, surrounded by gorgeous mountains. The water is crystal clear, and you see a reflection of the snow-capped mountains in the lake. You want to show the clear water, in which the mountain peaks can be seen in the reflection. This is where the polarisation filter comes in.
How does the filter work exactly?
It's not a matter of the filter doing all the work once lens-mounted. A screw thread on the filter facilitates lens mounting, but the filter also has a twist ring. You can use this to twist the filter onto the lens. A polarisation filter lets light through in a specific direction. By turning the filter you can determine the place at which it filters out the reflection..
Bear in mind though that the filter works optimally when light comes in laterally whilst photographing, so not with the sun behind you. Whenever you adjust your camera's setting, you'll need to turn the twist ring accordingly. Think primarily of horizontal and vertical photography. What's great is that as you look through the viewfinder you see what is happening as you twist the filter. This helps you determine the desired effect with ultimate precision.
The polarisation filter is a real must-have amongst landscape photographers. Nature is a glorious colour spectrum, one that can sometimes be tricky to capture. A polarisation filter can help us along the way a bit. It lets you play around with all manner of reflections you might encounter in the water or on shiny objects. In short: an absolute must-have.


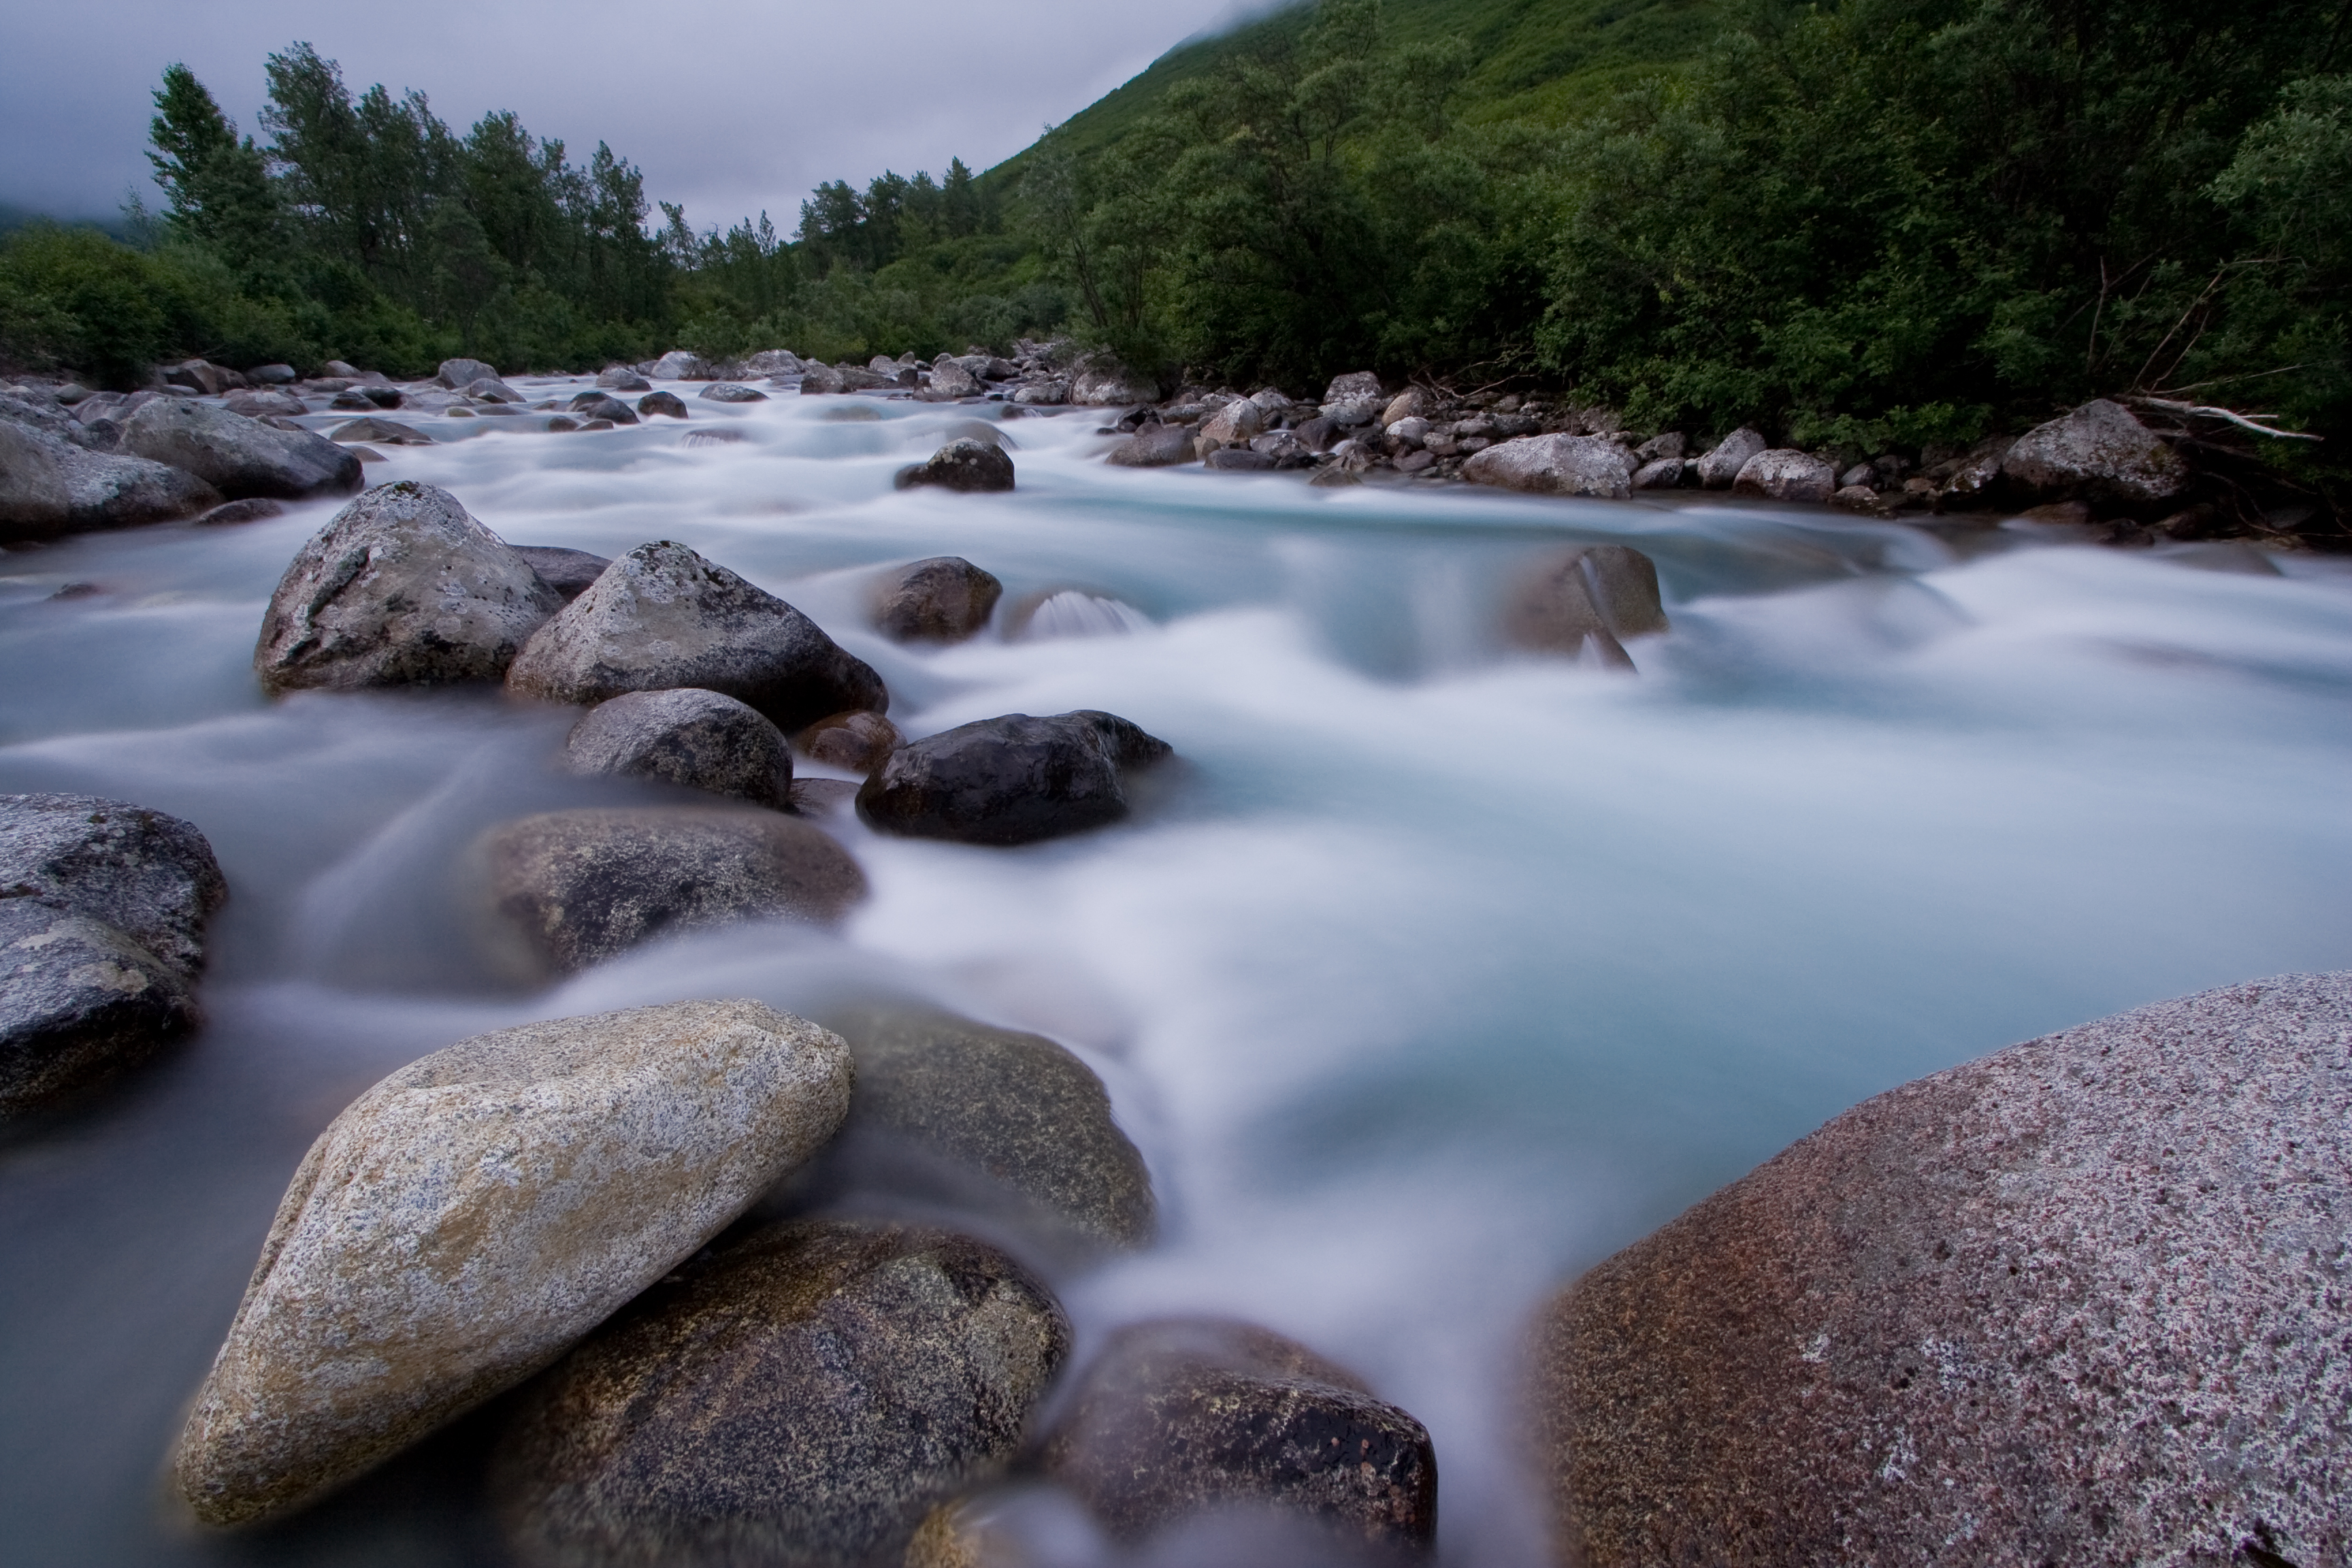
Magical waterfalls with cascading water; you can picture the scene. One might work with a short shutter speed, meaning every drop of water is captured in sleek definition. Another might prefer longer shutter speeds, meaning all those drops of water and surges merge into a fluid cascade. There is one downside however. If you're working with a long shutter speed on a bright day your photo will soon become over exposed. If that's the case you could work with an f/22 aperture, but the likelihood of your photo becoming over exposed remains high. An ND filter can resolve this.
An ND filter (also known as a grey filter) blocks light, leaving you to work with longer shutter speeds and a larger aperture. Generate all manner of creative effects, such as cloud movement, a cascading waterfall or calm, misty water. Play around with depth of field and make your subject stand out from the background. For instance, whilst photographing deer in the Amsterdamse Waterleidingduinen nature reserve. Or play around with coast dynamics and create a soft blanket on the water and fluid cloud scuds. Give your photos a magical effect with an ND filter.
ND filter types
There are circular and square ND filters. A circular filter works pretty simply. Twist the filter onto your lens, and hey presto, your lens has sunglasses on. To use a square filter you'll need a special filter system. The advantage of these types of system as opposed to a twist filter is that you can swap filters relatively quickly, and that graduation filters work via this system too.
ND filters come in different strengths, also known as stops. The stronger a filter is, the more light it can block. One stop means you can set double the shutter speed. So, two stops means you can set four times the shutter speed, and so on.


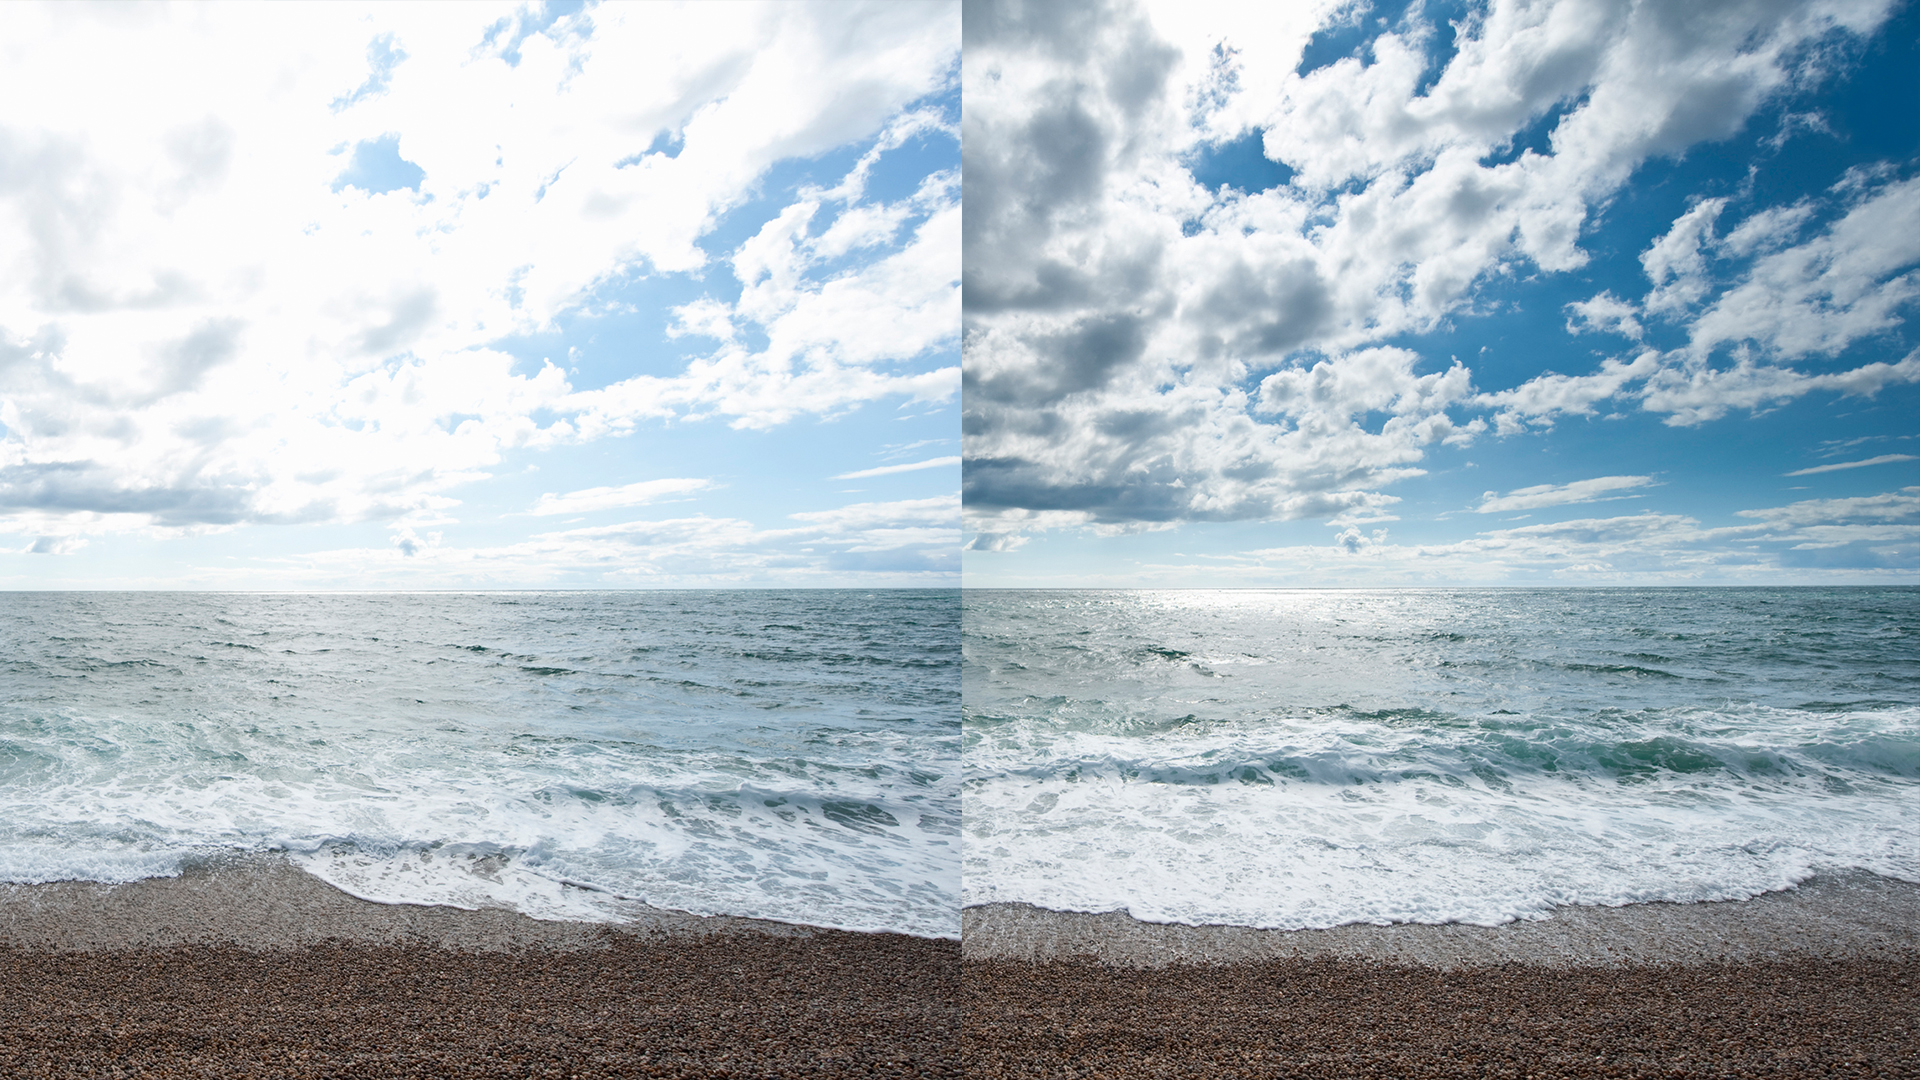
A graduated grey filter offers the same functionality as an ND filter, with a slight twist. The difference being that the graduated grey filter doesn't block all the light, rather some of it. The name says it all: 'graduated grey'. The filter is partially dark, and overspills into a transparent filter.
Imagine the scene: you're photographing the sunset on the Veluwe. The sky is turning orange and is still very bright, whereas the hills in the background are already in the dusk. A graduated grey filter will minimise this contrast. If you want to expose the hills more, without the graduated grey filter you'll see the sky soon becomes over exposed. A graduated grey filter used in such an instance, in particular the darker section, can be used for the sky without overexposing this part of the photo. By using the filter you retain all the details in your photo. A graduated grey filter is therefore a popular accessory choice at dawn and dusk.
Filter system
A graduated grey filter is often sold as part of a filter system. These filters are square not circular, and a filter holder is mounted on the lens. These filters come in all manner of strengths, so you can use the right filter in various lighting conditions. With such a system, remember to check which size you need as you're not relying on vignetting in your shot. The focal length and opening angle determine the system to be used on your lens.


Colour filters derive from the age of analogue photography when colour filters were needed to counteract the influence of deviations in colours. Nowadays, the filters are popularly used to ambient effect. For example, there are several filters on the market that enhance the warm colours of a sunset. Say, with a graduated colour filter. This helps you accentuate the sunset, without seeing an orange glow on the rest of your photo. The result: a super summery sunset.
Colour filters are also used a lot in black &white photography. By using a red and yellow filter the contrasting is enhanced, lending a dramatic effect to your photo. A red filter offers extra enhancement than a yellow one. This means you can decide for yourself how much you wish to enhance the contrast.
By using a filter system you can also combine various colour filters, with say, a grey filter. Indeed, each filter has its own functionality and strength. By combining these you can create highly focused effects in your shots.