This is how to take the most beautiful rainbow photo
A rainbow continues to capture the imagination, as the expression "gold at the end of the rainbow" shows. Visually, a rainbow is unique, the refracted light and raindrops in contrast against an often dark menacing sky. A rainbow is a fantastic subject for photography. But the conditions have to be just right, and every image is different. Be quick, because a rainbow can disappear in an instant.
To create a rainbow, only two ingredients are needed: light and water. The light shining through the raindrops changes direction. This refraction creates the different colours and the light reflected in the water droplets creates an optical effect.
Despite its name, a rainbow does not only appear when it rains. Sometimes you can also see a rainbow at a waterfall, sprinkler or fountain. You can also take creative and unique pictures of these.
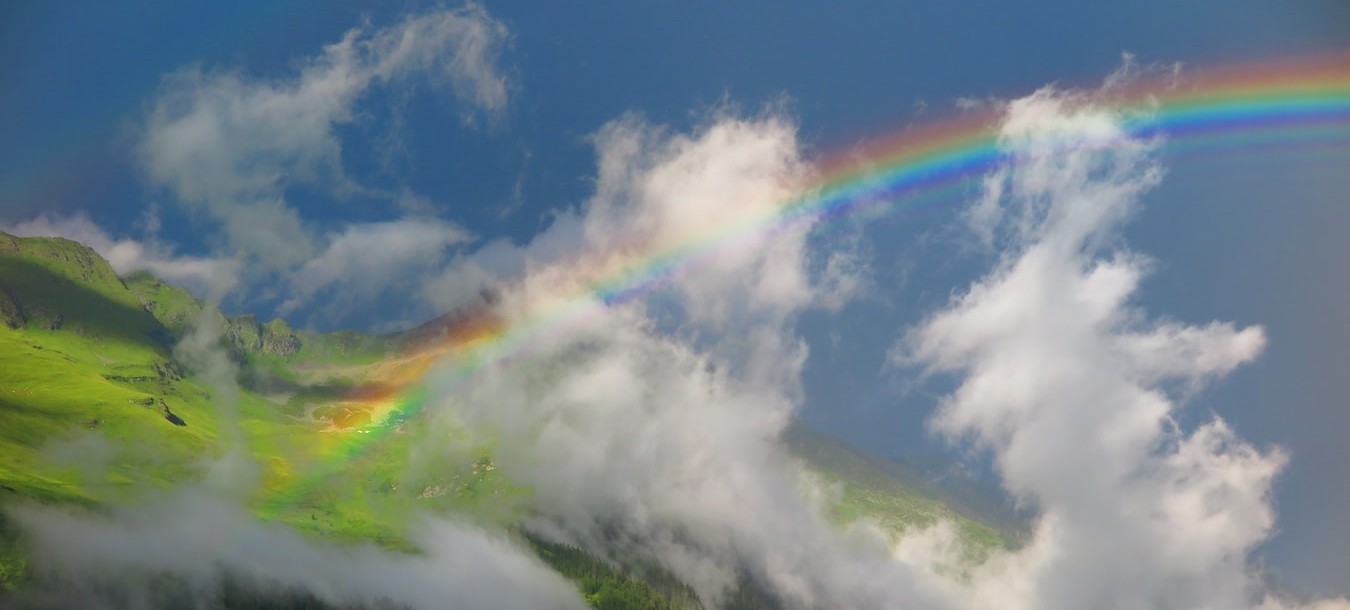
From our point of view, we see the rainbow as an arc, but did you know that a rainbow is actually a circle? The ground breaks the circle and makes it an arc. If you are high enough in the mountains and look down on a valley, you can theoretically see a round rainbow. Of course, this requires some conditions such as the position of the sun and the rain in the valley. Therefore, this phenomenon is rare.

To photograph a rainbow, you don't need expensive equipment. Even with your phone's camera, you can usually create amazing pictures. To see the rainbow properly, the light must come from behind, meaning the sun at your back.
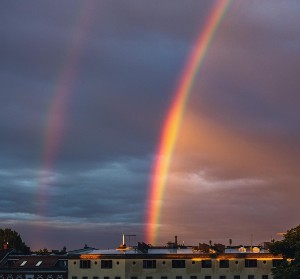
In terms of point of view, consider a wide view, for example a polder landscape or from the roof of a building. A rainbow in the photo does not automatically make it a good photo. Composition is still important. Some knowledge of landscape photography is helpful here. You can photograph a rainbow well with a wide-angle lens, or choose to shoot the image as a panorama. The best part is often to photograph the entire rainbow, the beginning and the end of what you see. Here you can think about symmetry in your photo. When a rainbow has no clear beginning and end, it is fun to experiment with the golden ratio.
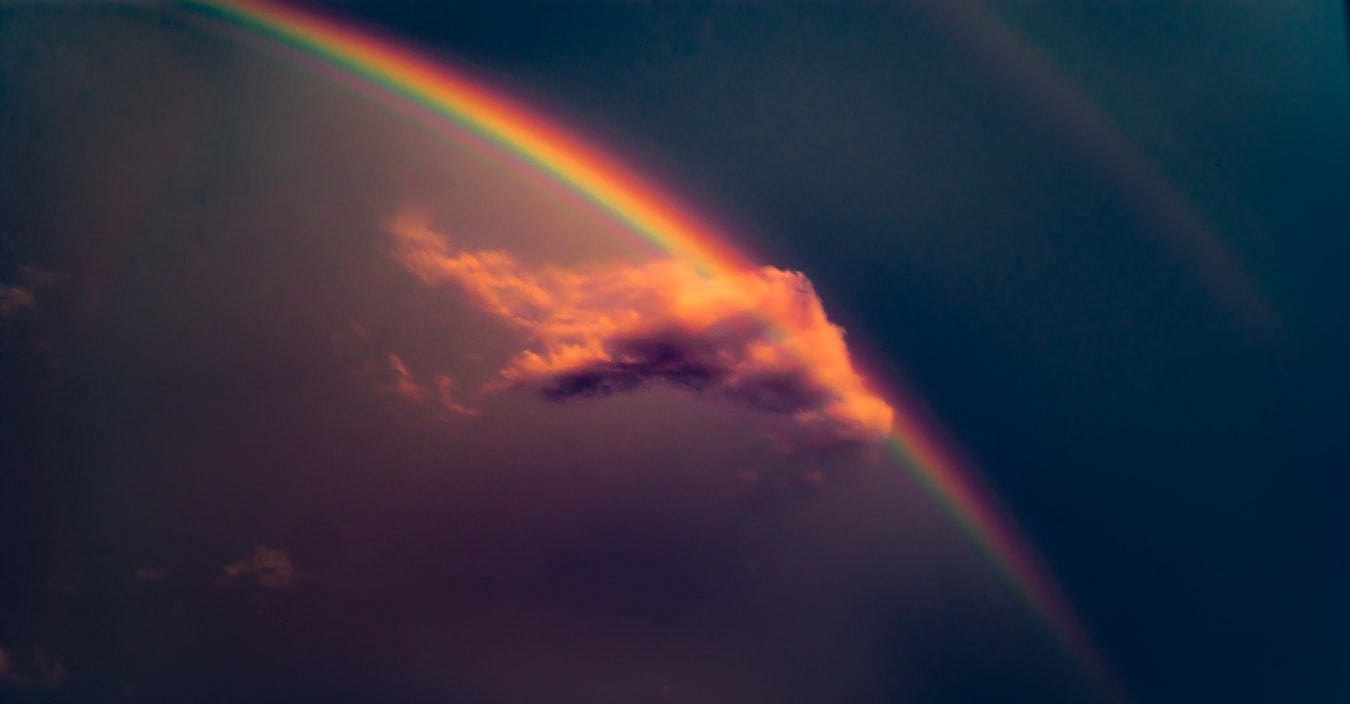
Always look carefully where the rainbow is at the lowest point, ends or begins and bring it out nicely in the composition. You can also choose to zoom in. For example, you can emphasise the arc of the rainbow.

Good lighting is important. You don't want the photo to be too light, because you won't see the colours of the rainbow. In fact, the colours become slightly brighter when the photo is dark. But because of this, the landscape may be underexposed. Which precise settings of aperture, shutter speed and ISO you need, depends on many factors. It is always advisable to operate the camera manually. This gives you optimal control over your image. Always check your surroundings so you can adjust your settings under the weather and light circumstances. With an ISO around 200, aperture between f/8 and f/11 and a shutter speed smaller than 100 you’ll often have a range of settings that will create the best photos.
You can use a polarizing filter to make the rainbow appear even stronger in the image. Of course, the other way around is also possible, and you can use a polarizing filter to make the rainbow disappear. So keep this in mind while photographing so you use or remove the polarizing filter.
Another thing that can be very handy while photographing a rainbow is a tripod. By using a tripod, you are assured of a steady and sharp image.

Post-editing is completely to your liking. Consider adjusting highlights, shadows, vibrancy, sharpening and contrast. This is how you make the photo extra dramatic or fairy tale-like. Especially with adjusting the vibrancy your colours will pop out of the picture! Use a little bit of contrast and the rainbow will stand out.