"A celestial body closest to the earth."
It can be very helpful to understand how to photograph the moon with a digital camera. Sometimes you may want to capture the moon when it is full and beautiful, while at other times you may want to capture a lunar eclipse.
We explain everything you need to know about moon photography, from start to finish, below.
Moon phases | Pre planning | Gear | How to | Veelgestelde vragen
It is important to understand the basics of the different phases of the moon before we talk about how to photograph the moon.
Throughout the month, the moon goes through several phases. If the moon is between the earth and the sun, we speak of a "new moon". When the earth is between the moon and the sun, we speak of a full moon. This cycle is called the "Synodic Period" and repeats every 29.53 days.
Here on the right you will find a diagram of the different phases of the moon.
During the illumination of the New Moon, it passes through a Crescent, then a Quarter and then a Gibbous phase. Finally, it reaches the Full Moon and then the shadow begins to creep in on the other side. The cycle then repeats itself again in the reverse order: Gibbous, Quarter, Crescent, until we get another new moon.
When the moon is increasingly illuminated it is "waxing", and "waning" when it becomes less illuminated. A waxing and waning crescent have the same shape, but they appear on opposite sides of the moon.
We want to remind you that it is important to know your location while observing the moon from Earth. The image above is for the Southern Hemisphere, where the moon waxes left and wanes right. Once these phases are known you can easily tell when to expect a full moon.Of course the location you are determines how (well) you will see the moon.
You can find out what phase the moon is currently in via this link.
It is important to be well-prepared when you want to photograph the moon. Planning ahead is key!
For example, look at the weather forecast, so you can be sure the part of the sky, where the moon appears, will be clear. Although it also makes for great photos with some clouds added, of course, you don't want to deal with heavy clouds, haze or moisture in the atmosphere.
If you live in a big city, air pollution can be a big problem and especially on hot summer days. Heat waves are an obvious problem when shooting with long focal lengths as you can see below:
Use helpful apps to find out when the intended moon phase occurs, when the moon rises, sets and where to photograph it. Some apps have a "Night Augmented Reality Mode" that puts the moon over your landscape to calculate the exact time and location. Of course, there are many applications to choose from, and we highlight 2 of them:
It is good to make sure you use apps similar to the ones above to find out exactly where the moon will appear.
There are, of course, many types of cameras and lenses available for lunar photography. Below, we show you the basic equipment you need to photograph a nice close-up of the moon.
The distance between the moon and the earth is a whopping 384,400 km. So which lens do you choose? Photographing the moon with a wide-angle lens is possible, but of course, that in turn causes the moon to be displayed small. So for a nice close-up photo of the moon, use a telephoto lens. Consider a minimum focal length of 300 mm. The longer the lens, the better. Using a teleconverter increases the overall focal length. For example, a 1.4x teleconverter increases the focal length of a 300 mm lens by 40% or up to 420 mm in total, while a 2.0x teleconverter increases the focal length of the same lens to 600 mm. What you do need to keep in mind is that teleconverters negatively affect lens sharpness and reduce the maximum aperture.
When using lenses with long focal lengths, you will naturally have to deal with camera shake. At focal lengths exceeding 300 mm, even slight movement can blur the image. Therefore, when using a telephoto lens, we also recommend that you use a tripod to get a sharp photo of the moon. What you do need to consider is that the moon moves faster than you think. This means you often have to reposition your equipment.
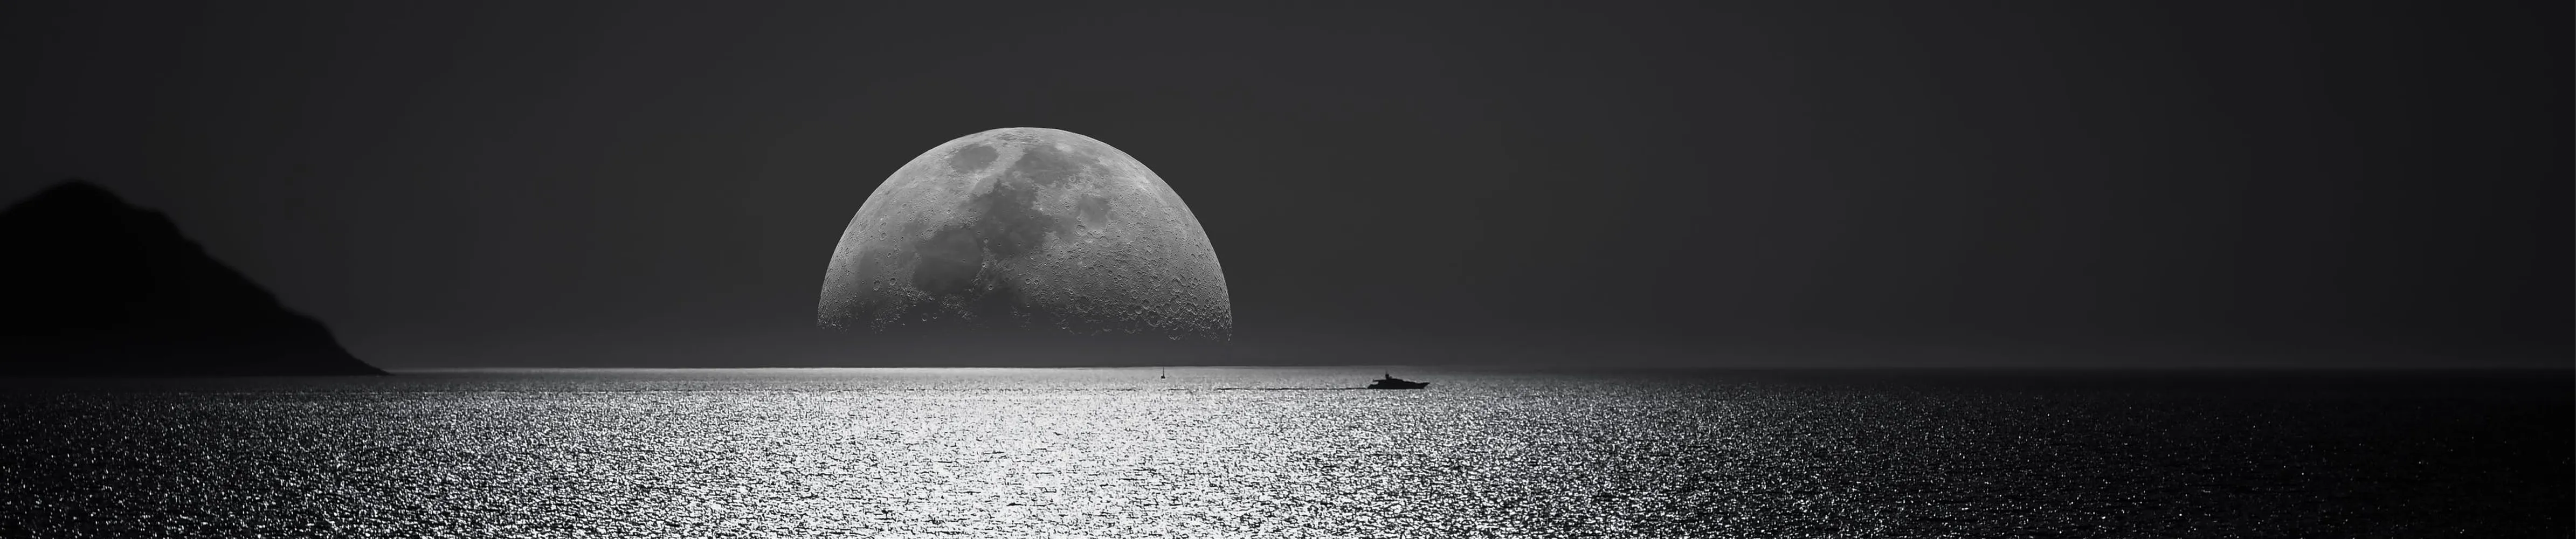
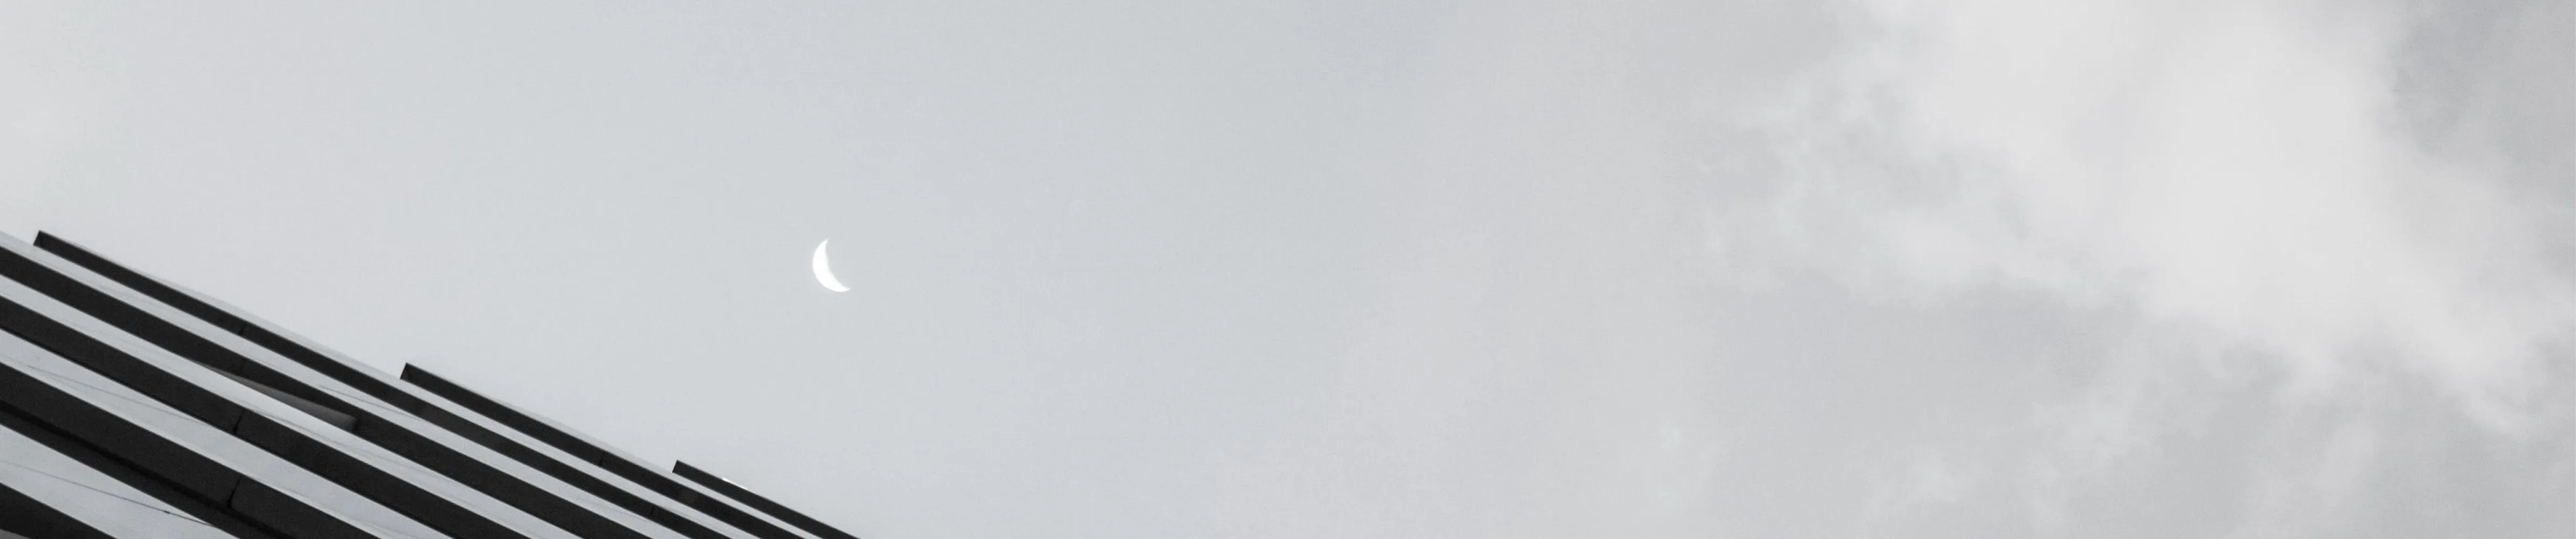
Make sure you have a clear view of the moon, keep in mind that you are constantly moving up and down at that time, the moon is moving and may slowly slide behind a tree or building. Do as much as possible manually because such a distant bright object in the dark is not an easy subject to capture. Below we explain the best settings to capture the moon as sharply as possible.
Shooting in RAW gives you much more information than doing so in JPEG. You get greater dynamic range and higher detail, which allows for more creativity in post-processing.
Thus, you maintain complete camera control. The moon is brightly lit of course, and in the image often small in a very dark environment. The autofocus function of your camera has a lot of trouble focusing on the moon in this case.
To avoid noise, we advise you to work with a low ISO.
Keep the aperture at f/8 or f/11, this is because any photo with a more dense aperture will be slightly sharper.
A shutter speed of 1/00 or 1/160 is often sufficient. If you choose a shutter speed that is too slow, you will have to deal with motion blur, because the moon is of course constantly moving.
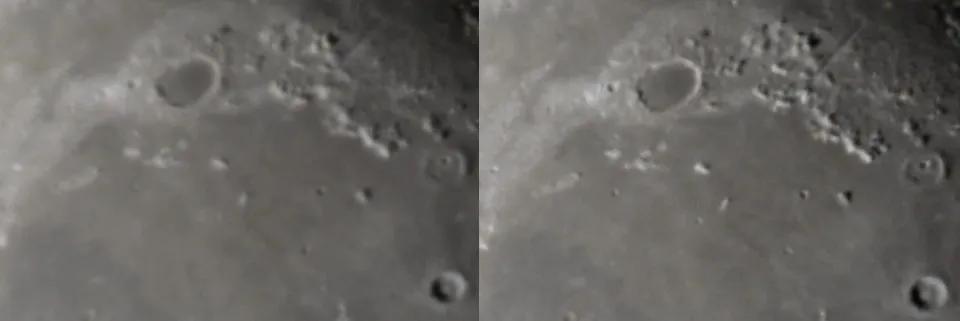
Choose "infinity" focus. Doing this often makes solves the sharpness right away. To set this, set the focus ring to the Infinity mark, the eight (∞).
You can photograph the moon with any camera. If you want to take a close-up of the moon you will need a telephoto lens in combination with a digital camera or a compact camera with a super-telephoto lens, such as the Canon Powershot SX70 HS.
If you want to take a sharp photo of the moon, you must first stabilise your equipment to avoid any camera shake. Next, you need to use an aperture that will produce the best sharpness. So take lots of test photos!
Read more
Would you like more inspirational articles? Check out our other inspirational blogs and articles!